AdminLTE is a great dashboard template but it is built with pure HTML and CSS. In this tutorial, I’d like to go through installing AdminLTE with Laravel 5 like pros. We will make sure that we have the ability to update AdminLTE to the latest version at any given time by using Bower to manage it.
Looking for a good place to start with Laravel 5? Laracasts provides a great set of video tutorials for programming with Laravel. In this tutorial, I will assume you went through the free Laravel Fundamentals series or at least the first two videos. This tutorial requires basic knowledge of Homestead and the command line (DOS or Terminal).
I will use Laravel’s installer to create a new project. Feel free to do it any other way if you feel more comfortable with it.
So let’s get the Laravel installer. In the terminal type this command
composer global require "laravel/installer=~1.1"You may need to wait a few minutes until composer completes the installation.
Then get a new copy of Laravel
laravel new myappWith this command we created a new copy of Laravel and named it myapp. If this command didn’t work, make sure you have the Laravel installer setup correctly on your machine.
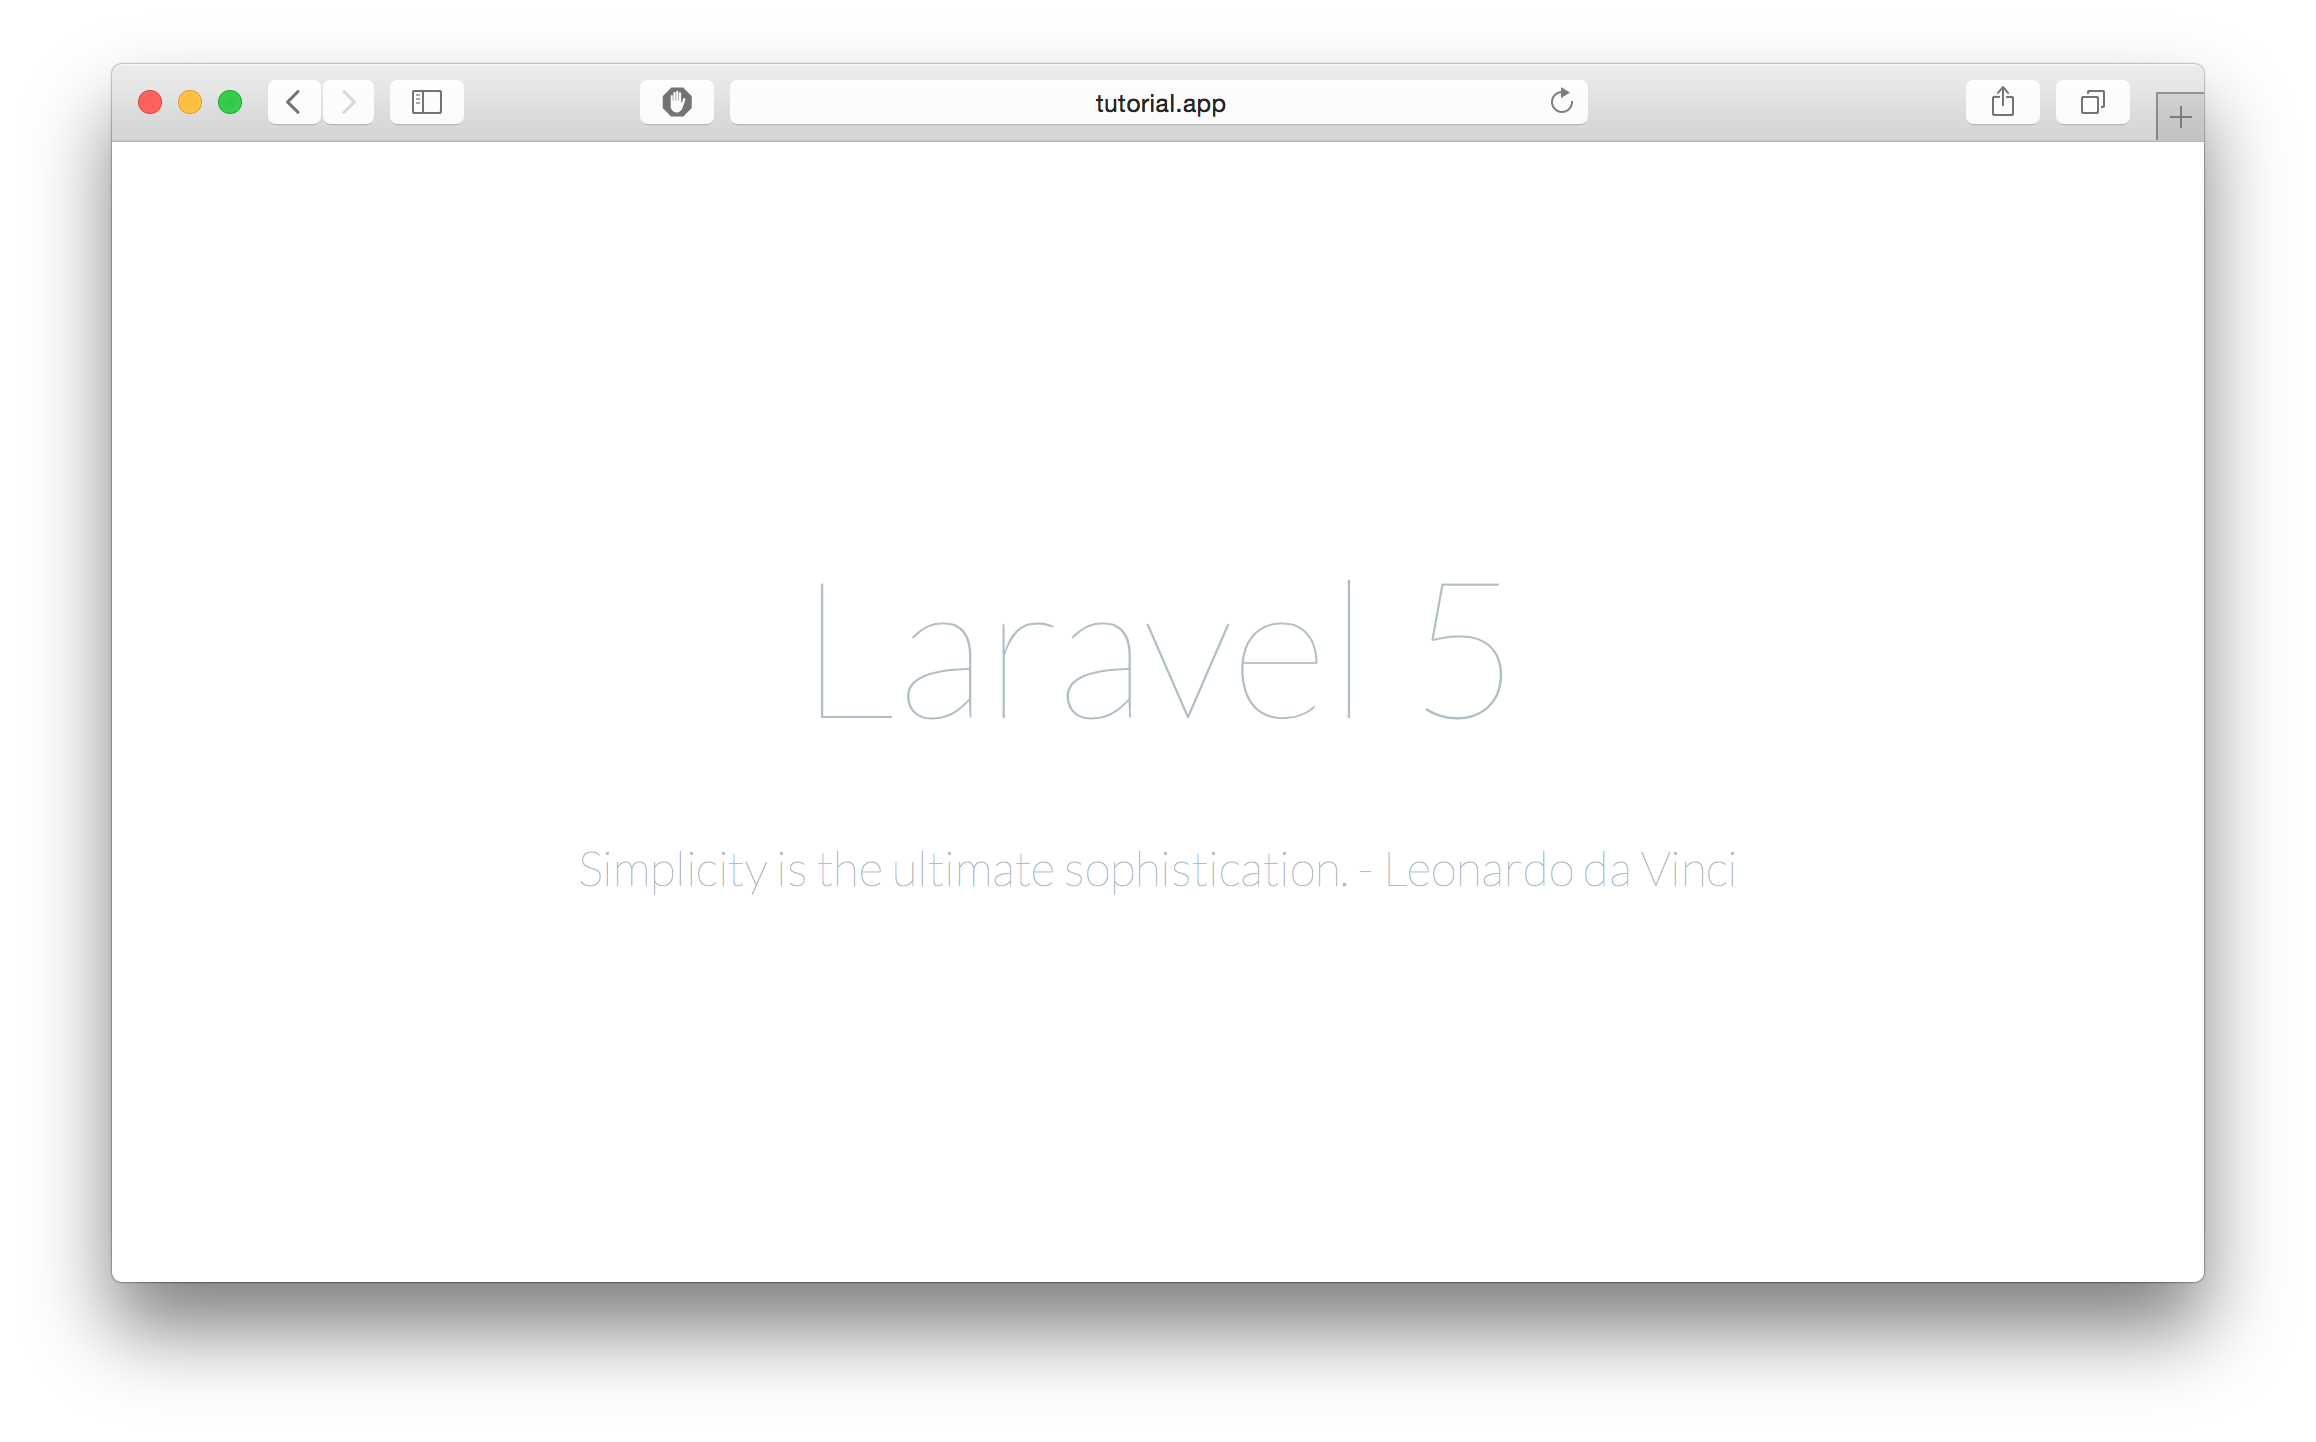
By now, you should be able to see the welcome page of Laravel when you visit the site.

Navigate to the public directory within your laravel folder.
cd myapp/publicWithin the directory, install AdminLTE via Bower
bower install admin-lteOnce it’s done, you should have a folder called bower_componets and inside it you will find admin-lte.
Laravel provides a great templating system out of the box called Blade. To take advantage of Blade, we need to convert the regular HTML of the starter page to Blade. First, create a new view in resources/views and call it admin_template.blade.php. Then, create a route to the new view.
The route I am using is setup as follows
Route::get('admin', function () {
    return view('admin_template');
});
Now, copy the content of bower_components/admin-lte/starter.html to the new view and modify the asset links to point to the admin-lte directory. Here is my preliminary set up
If you visit the page again, you should see the starter template working. The result should look like this

Now that we have all the resources we need to start with AdminLTE, lets add the final touches to our main view. I will split the template into three files, sidebar.blade.php, header.blade.php, and footer.blade.php. So create those files in the views directory, then add the necessary code in each file as follows.
1. header.blade.php
2. sidebar.blade.php
3. footer.blade.php
We have the pieces of the template split for easy customization. Now we need to customize our original admin_template.blade.php to load those files and allow for dynamic content loading. Here is my final code for admin_template.blade.php
In the code above, we added a section called content that will contain our pages, loaded the header, footer, and sidebar, and added $page_title variable to give our pages titles. The template is now ready to be used with Laravel 5.
To demonstrate where to go from there, I will create a simple page that shows a box with progress bars containing dynamically generated tasks.
1. Create test.blade.php. Within the views folder, create a new file and add the following code to it.
2. Create Controller TestControler.php. Create a new controller by using the following command
php artisan make:controller TestController --plainThe code for the new controller
3. Create a Route. Now that we have a controller, we need a new route to point to it. Within the routes.php file, copy the following route:
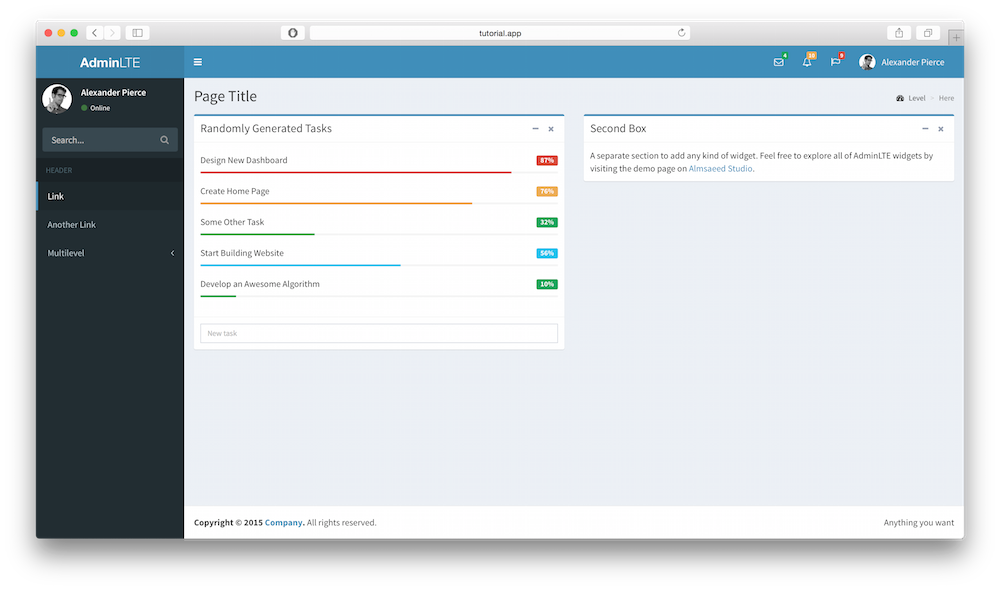
Route::get('test', 'TestController@index');If everything has been done correctly, you should be able to see result similar to this when visiting the test page.

Download: AdminLTE-and-Laravel.zip
I hope you enjoy
composer global require "laravel/installer=~1.1"You may need to wait a few minutes until composer completes the installation.
Then get a new copy of Laravel
laravel new myappWith this command we created a new copy of Laravel and named it myapp. If this command didn’t work, make sure you have the Laravel installer setup correctly on your machine.
By now, you should be able to see the welcome page of Laravel when you visit the site.

Navigate to the public directory within your laravel folder.
cd myapp/publicWithin the directory, install AdminLTE via Bower
bower install admin-lteOnce it’s done, you should have a folder called bower_componets and inside it you will find admin-lte.
Laravel provides a great templating system out of the box called Blade. To take advantage of Blade, we need to convert the regular HTML of the starter page to Blade. First, create a new view in resources/views and call it admin_template.blade.php. Then, create a route to the new view.
The route I am using is setup as follows
Route::get('admin', function () {
    return view('admin_template');
});
Now, copy the content of bower_components/admin-lte/starter.html to the new view and modify the asset links to point to the admin-lte directory. Here is my preliminary set up
If you visit the page again, you should see the starter template working. The result should look like this

Now that we have all the resources we need to start with AdminLTE, lets add the final touches to our main view. I will split the template into three files, sidebar.blade.php, header.blade.php, and footer.blade.php. So create those files in the views directory, then add the necessary code in each file as follows.
1. header.blade.php
2. sidebar.blade.php
3. footer.blade.php
<footer class="main-footer">
    <!-- To the right -->
    <div class="pull-right hidden-xs">
        Anything you want
    </div>
    <!-- Default to the left -->
    <strong>Copyright © 2024 <a href="#">Company</a>.</strong> All rights reserved.
</footer>We have the pieces of the template split for easy customization. Now we need to customize our original admin_template.blade.php to load those files and allow for dynamic content loading. Here is my final code for admin_template.blade.php
In the code above, we added a section called content that will contain our pages, loaded the header, footer, and sidebar, and added $page_title variable to give our pages titles. The template is now ready to be used with Laravel 5.
To demonstrate where to go from there, I will create a simple page that shows a box with progress bars containing dynamically generated tasks.
1. Create test.blade.php. Within the views folder, create a new file and add the following code to it.
2. Create Controller TestControler.php. Create a new controller by using the following command
php artisan make:controller TestController --plainThe code for the new controller
3. Create a Route. Now that we have a controller, we need a new route to point to it. Within the routes.php file, copy the following route:
Route::get('test', 'TestController@index');If everything has been done correctly, you should be able to see result similar to this when visiting the test page.

Download: AdminLTE-and-Laravel.zip
I hope you enjoyed this tutorial. Do not hesitate to comment or ask questions below.
ed this tutorial. Do not hesitate to comment or ask questions below.
Comments (No Comments)